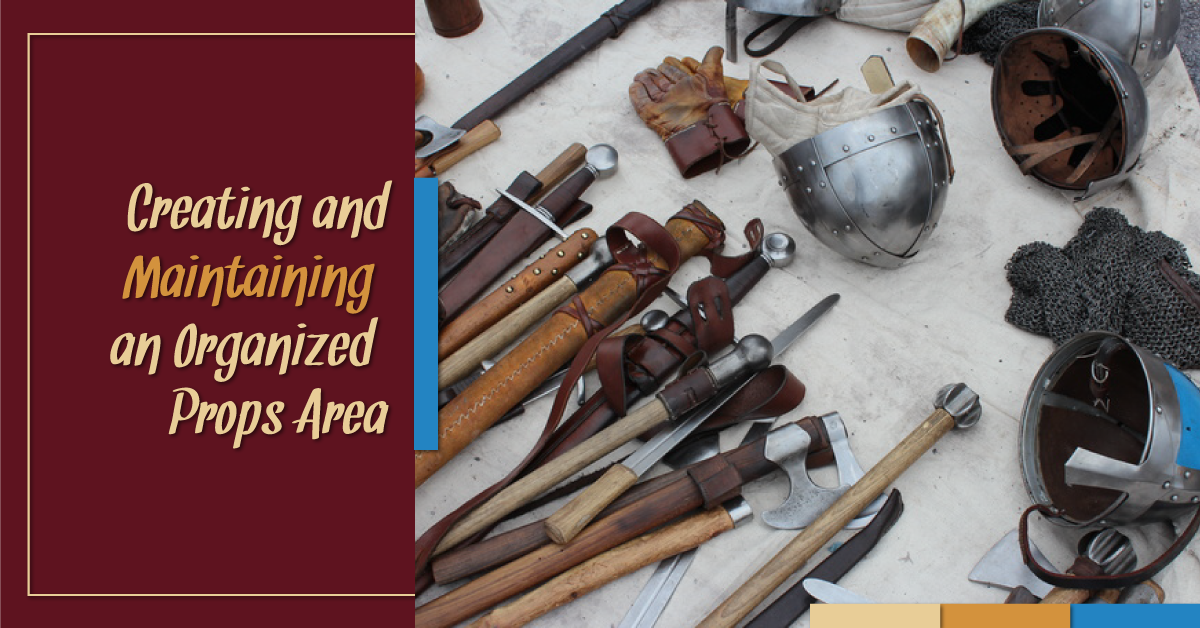
Creating and Maintaining an Organized Props Area
The backstage area can be chaotic enough without having to worry about all the props for the show. Help to reduce backstage stress by using these seven tips to help keep your props area neat, tidy, and organized.
1. Create a designated props table or shelf backstage, with clearly marked spaces for each prop. Use painter’s tape and a marker to create simple labels, or put a large piece of butcher paper, newsprint, or parchment paper on the table and label that. Then place each prop on top of its tape/label, so everyone can see clearly where it goes. This way, people can easily see if a prop is missing. You could even outline the props on the paper so it’s even easier to see if something is missing.
The butcher paper method is great if you don’t have a permanent table or shelf available in your backstage area. You can create a temporary props area using a folding table and the labeled paper. And then, after each show, the props can be packed into boxes, the table neatly folded, and the paper rolled up. You’ll just need to allow some time during pre- and post-show to set up and dismantle the props area. But the dismantled props table won’t take up much space during non-show hours.**
2. Remind all students that the props area is for PROPS ONLY. This is not the place to put scripts, water bottles, costume pieces, or personal items. Make it a rule that any non-prop items found on the props table will be dealt with immediately – whether they are tossed in the lost and found or confiscated by an assistant stage manager.
3. Arrange items in a way that makes sense to your production. For example, if a prop is used frequently or needs to be grabbed quickly, have its home on the props table be closer to the stage than something that is only used once or by an actor who has lots of time to grab it. In general, store larger or heavier props underneath the table/shelf, with smaller and lighter items near the top.
4. If you have a permanent props area in your backstage, install a bulletin board above/nearby the props area. That way you can pin up the props list on the board, and also use it for additional storage. For example, you can pin up paper props, or pin Ziploc bags to the board and store tiny props in them. This way those items don’t take up valuable table space. You can also use the bulletin board to post important notes, such as the locations of any backup emergency props, notes about the proper storage and retrieval of consumable props, and the name and contact information of the props head (in case of emergency).
5. Have a complete list of props stationed near the props area, pinned to the bulletin board or taped to the wall. Be sure the list includes the name of each student who uses the prop onstage. This will help the props head and assistant stage managers know who to reach out to if a prop is missing. You may wish to put the list in a clear plastic sheet so each item can be checked off with a dry-erase marker and re-used for each performance.
6. Tiny props (such as rings, writing utensils, coins – anything smaller than your fist) should be kept in larger, easy to see containers on the props shelf. These containers don’t need to be expensive. Use repurposed items such as plastic takeout containers or shoeboxes.
7. If possible, install a blue light next to the props table, so students can see the table in the dark. This can be as fancy as a permanent stage light or as simple as a desk lamp with a piece of blue lighting gel attached to it. During the show, the props area will be infinitely easier to keep organized when people can see what they’re doing!


